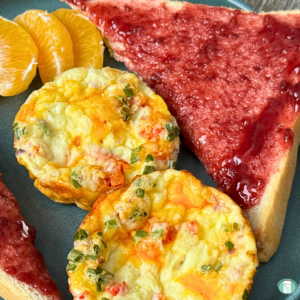
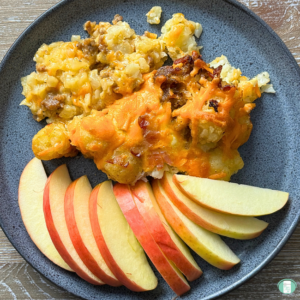
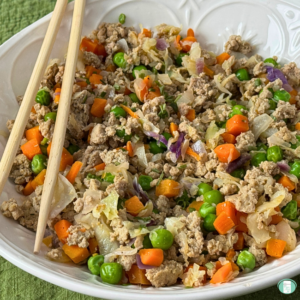
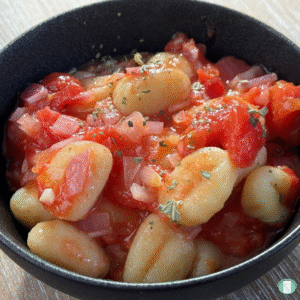
spend less time cooking so that you can spend more time living

Healthy and Easy Recipes for your family


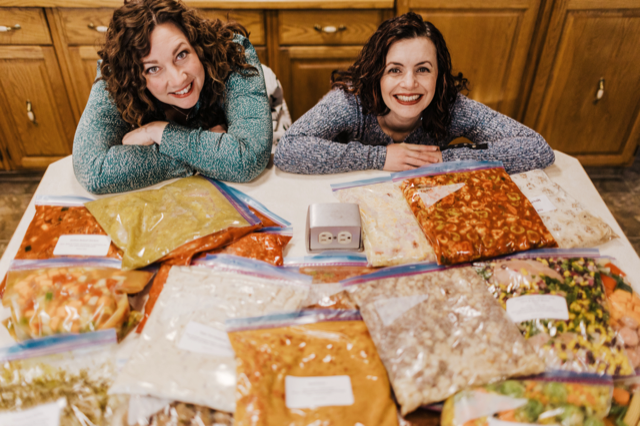
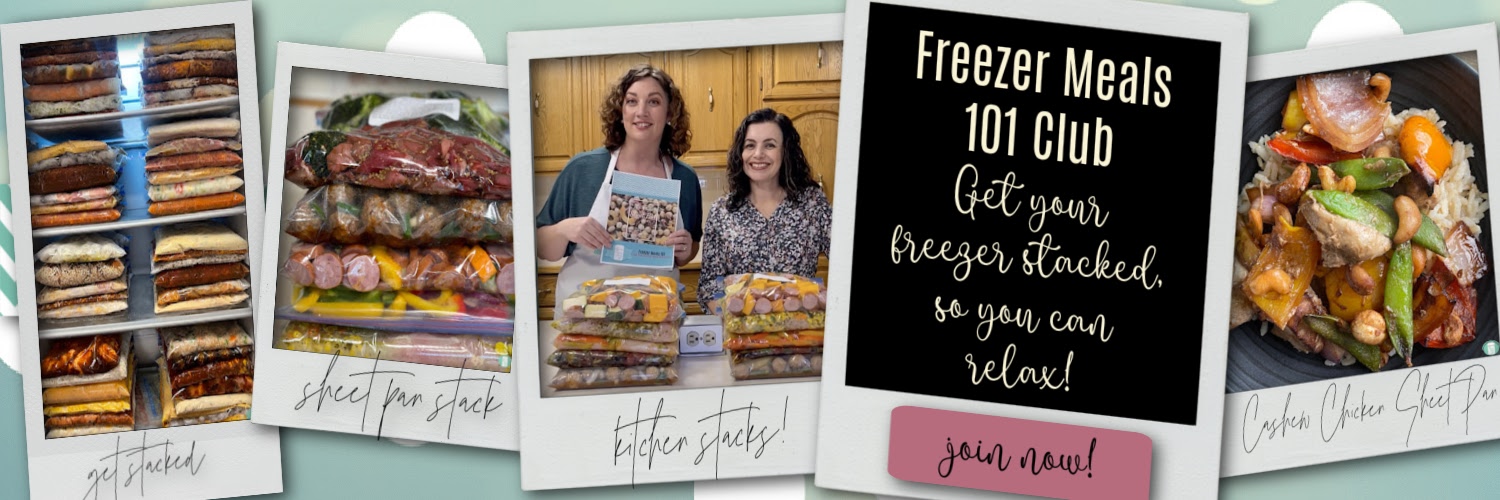
Welcome to Freezer Meals 101!
We’re Sharla and Christie
Neighbors and besties who are passionate about freezer meals. Why? Because dinner doesn’t have to be stressful. We want to save you time, money, and the mental space…