Freezer Meal Dump Recipes | Freezer Meal Instant Pot Recipes | Freezer Meal Recipes | Freezer to Crock Pot Honey Bourbon Meatballs
Freezer Meal Dump Recipes | Freezer Meal Instant Pot Recipes | Freezer Meal Recipes | Freezer to Crock Pot Mississippi Meatballs
Freezer Meal Dump Recipes | Freezer Meal Instant Pot Recipes | Freezer Meal Recipes | Freezer to Crock Pot Honey Chipotle Chicken
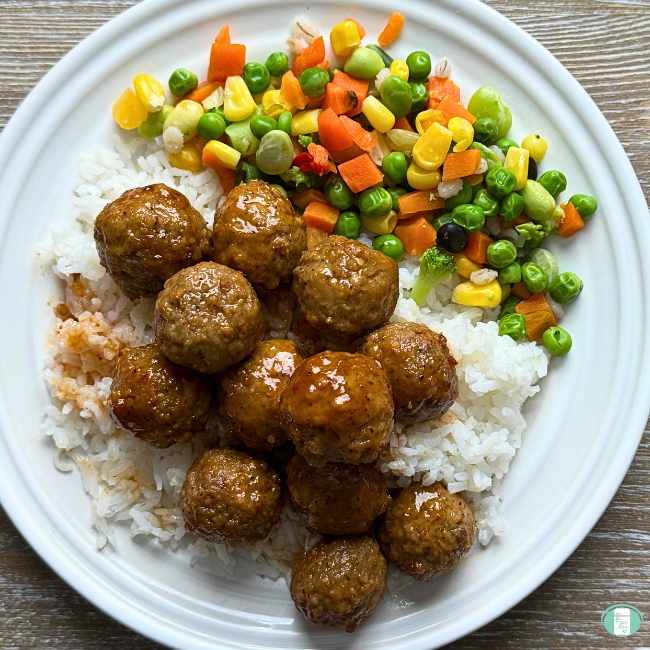
Freezer Meal Dump Recipes | Freezer Meal Recipes | Freezer Skillet Meals | Freezer to Crock Pot Mongolian Meatballs