Skip to content
Get your freezer stacked so you can relax.
Join the club Now!
YouTube
Facebook
Instagram
Pinterest
Freezer Meals 101 Club - Join Today!
Click To Join
Home
Freezer Meal Recipes
Freezer Meal Plans
Club Login
Search for:
Search
recipes by method
Expand
Slow Cooker
stovetop
oven
air fryer
Instant Pot
BBQ
Recipes By Protein
Expand
Chicken
Beef
Pork
Seafood
Vegetarian
Recipes By Course
Expand
appetizers
breakfast
lunch
dinner
side dishes
snack
soup
dessert
Resources
Expand
Freezer Stacks
Freezer Cooking
Freezer Meal Club
About
Contact Us
Facebook
X
Instagram
Search
Toggle Menu
Home
/
Freezer Meal Recipes
- Page 3
Freezer Meal Recipes
Freezer Meal Recipes
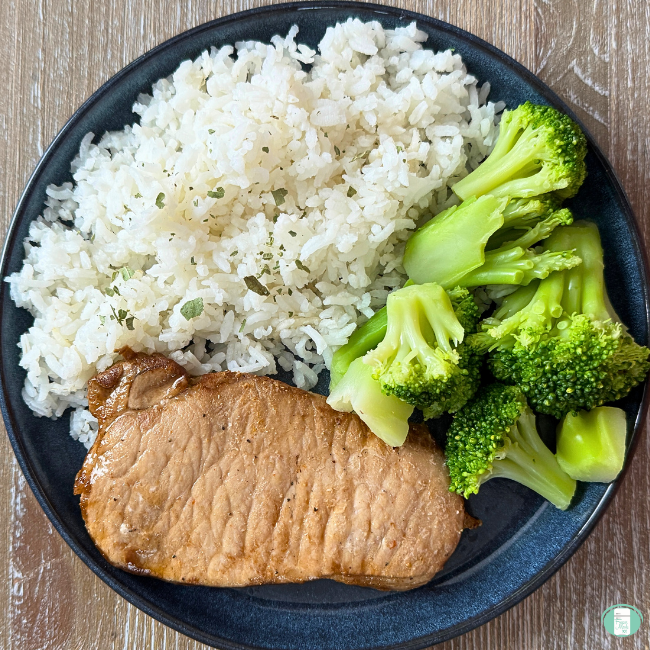
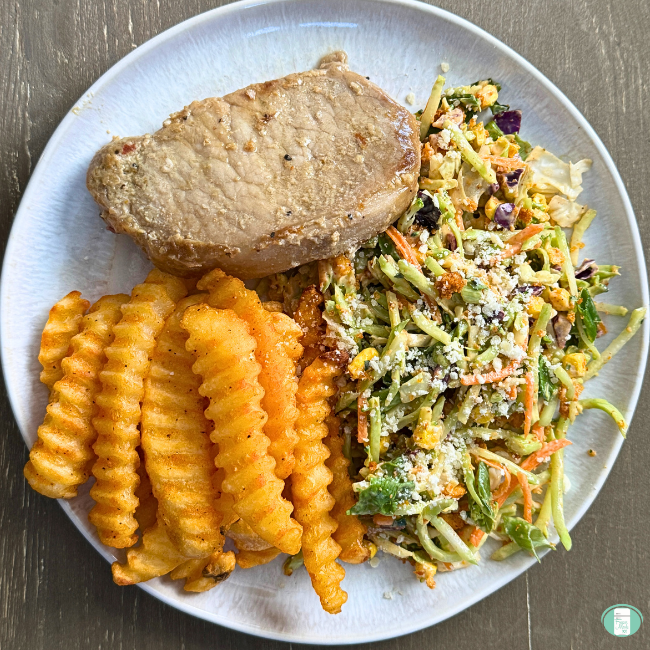
Sweet and Spicy Pork Chops
Freezer Meal Recipes
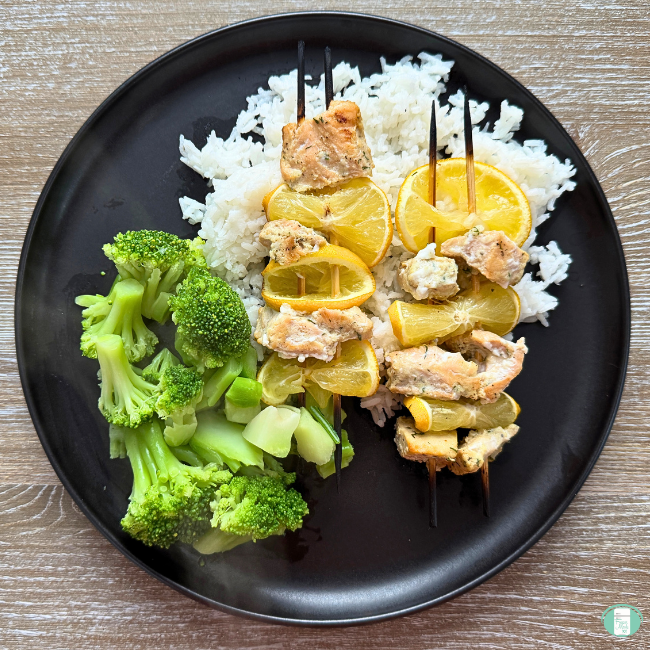
Marinated Salmon Skewers
Freezer Meal Recipes
|
Freezer to Crock Pot
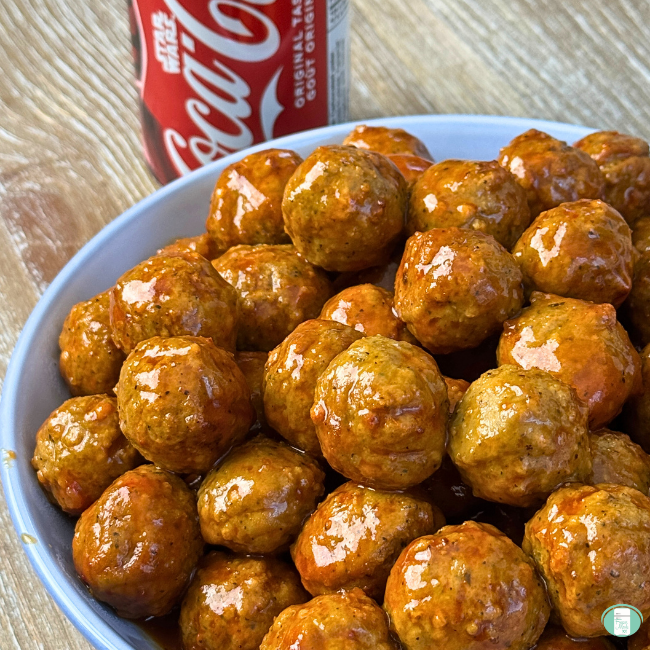
Cola Meatballs
Freezer Meal Recipes
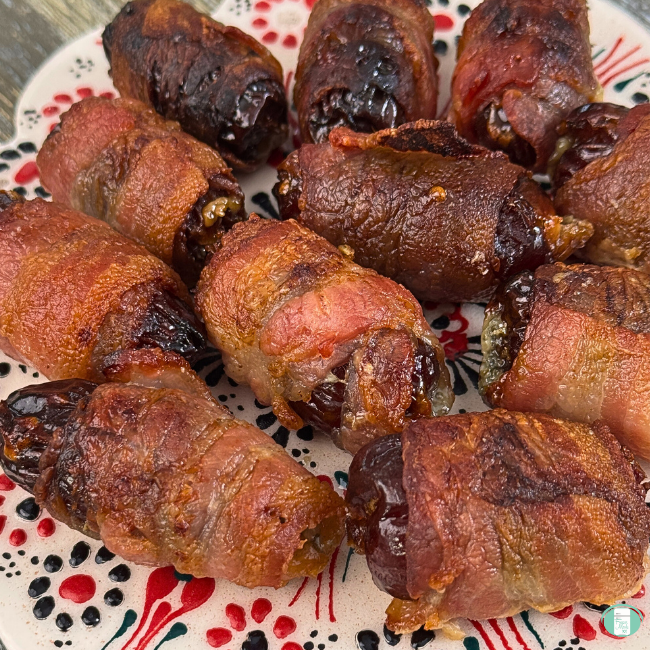
Bacon Wrapped Blue Cheese Stuffed Dates
Freezer Meal Recipes
|
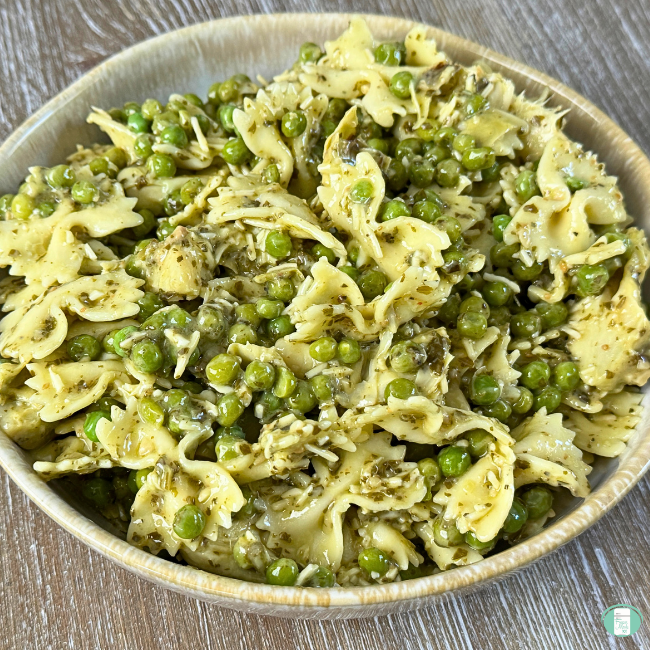
Freezer Meal Side Dishes
Green Pasta Salad
Freezer Meal Instant Pot Recipes
|
Freezer Meal Recipes
|
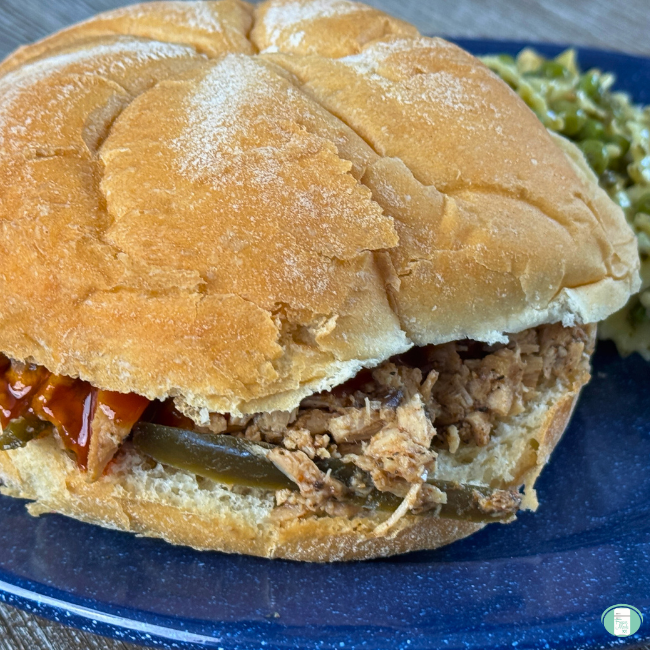
Freezer to Crock Pot
Texas Pulled Pork
Freezer Meal Recipes
|
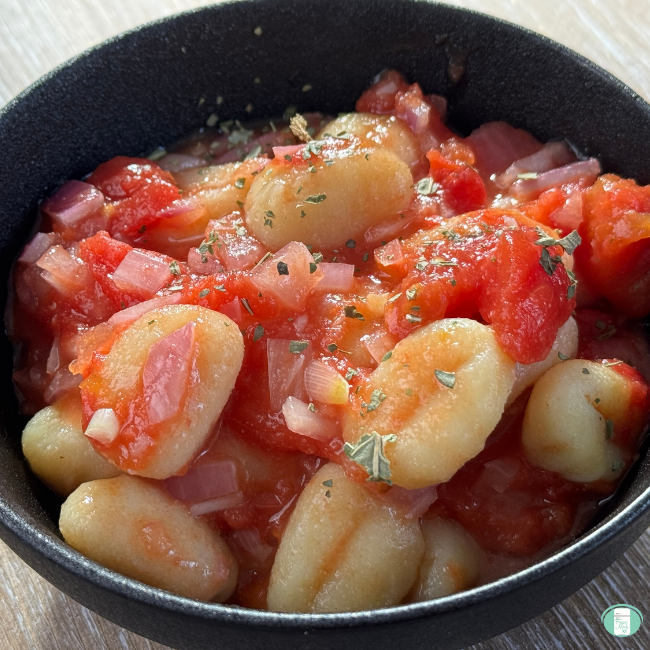
Freezer Skillet Meals
Gnocchi al Arrabbiata
Freezer Meal Instant Pot Recipes
|
Freezer Meal Recipes
|
Freezer to Crock Pot
Cola Chicken
Freezer Meal Recipes
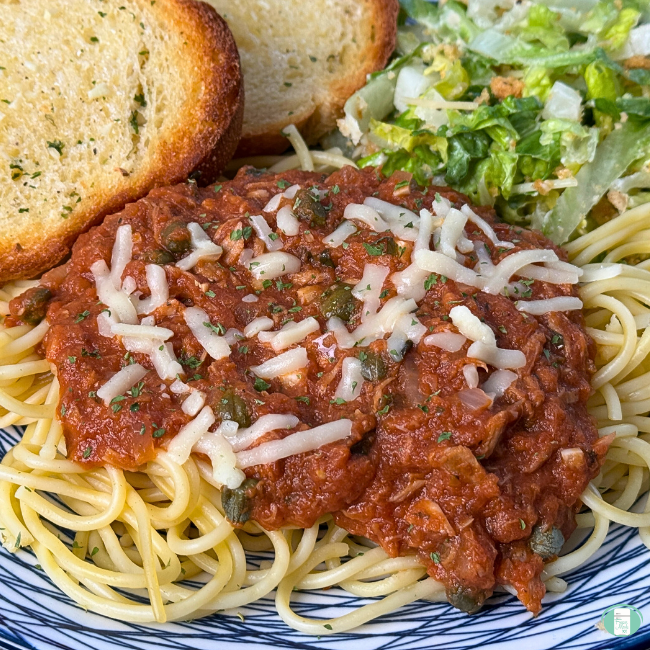
Spaghetti Al Tonno
Freezer Meal Recipes
Steakhouse Marinade Pork Chops
Freezer Meal Recipes
Taco Stuffed Shells
Freezer Meal Recipes
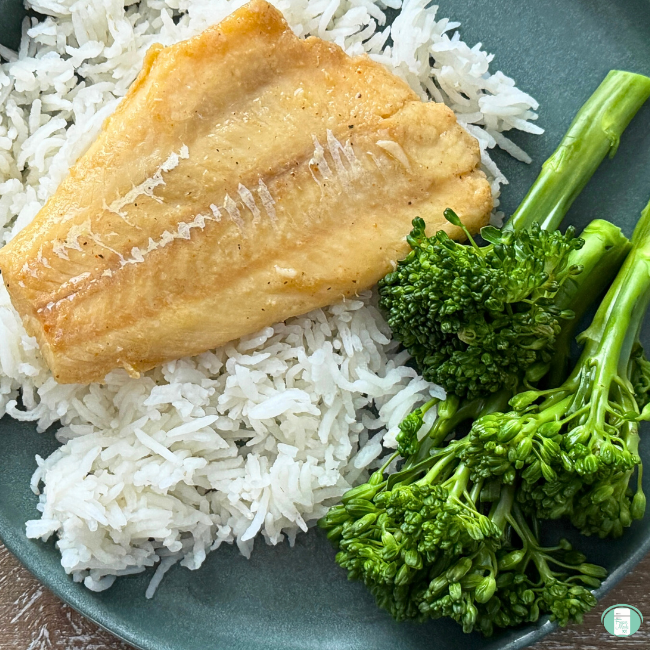
Lemon Butter Cod
Page navigation
Previous Page
Previous
1
2
3
4
5
…
44
Next Page
Next
Scroll to top
Scroll to top
Home
Freezer Meal Recipes
Freezer Meal Plans
Club Login
Toggle Menu Close
Search for:
Search